How to Get Sharp Photos of Herons at Dawn: A Step-by-Step Guide
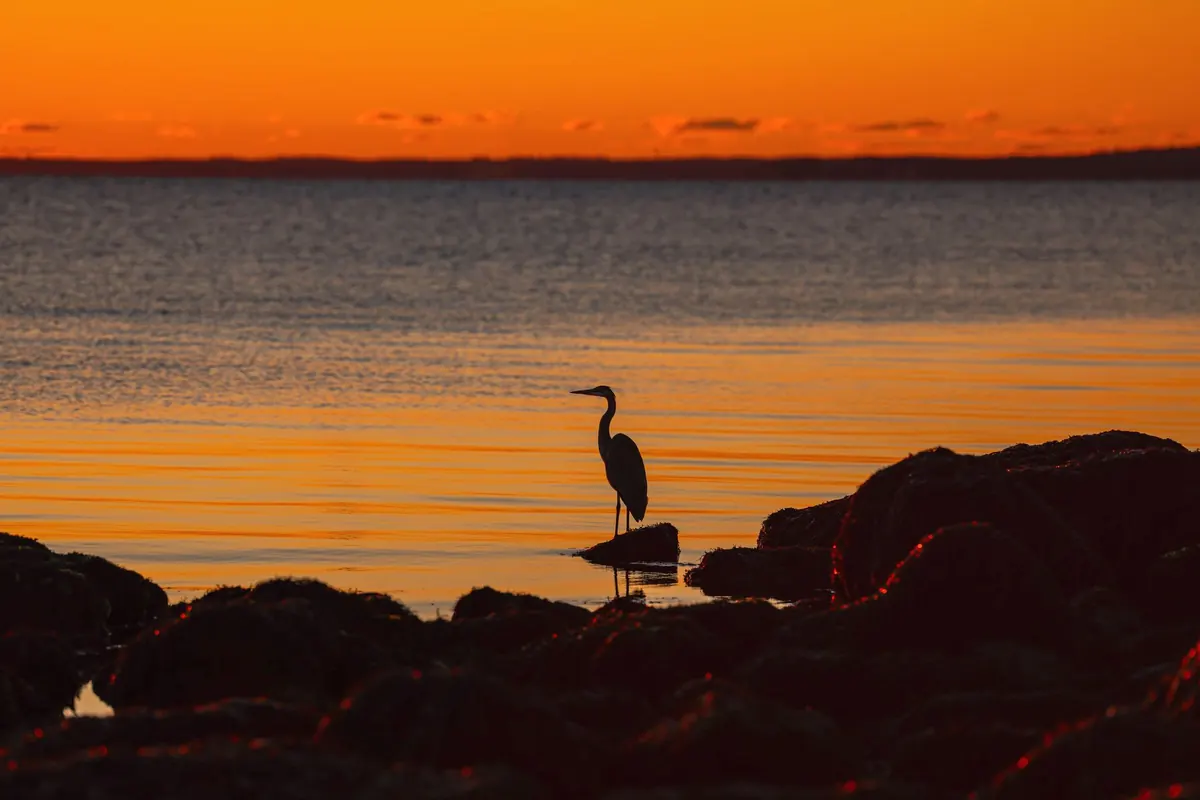
A heron at first light is one of the easiest birds to find and one of the hardest to photograph well. The light is thin, the bird often stands against a flat grey bank or a glaring sheet of water, and the moment that makes the picture — the neck uncoiling, the beak spearing a fish — lasts a fraction of a second. None of this demands expensive gear. It demands that you read the light, set your exposure before the bird arrives, and stay still for longer than feels natural.
Read the light before the bird arrives
Dawn light changes faster than most people expect. The twenty minutes before sunrise give a soft, blue, almost shadowless scene; fifteen minutes later you have warm side-light and a contrast range that doubles. If you arrive after that shift and start fiddling with dials, you'll spend the best part of the morning chasing settings instead of birds.
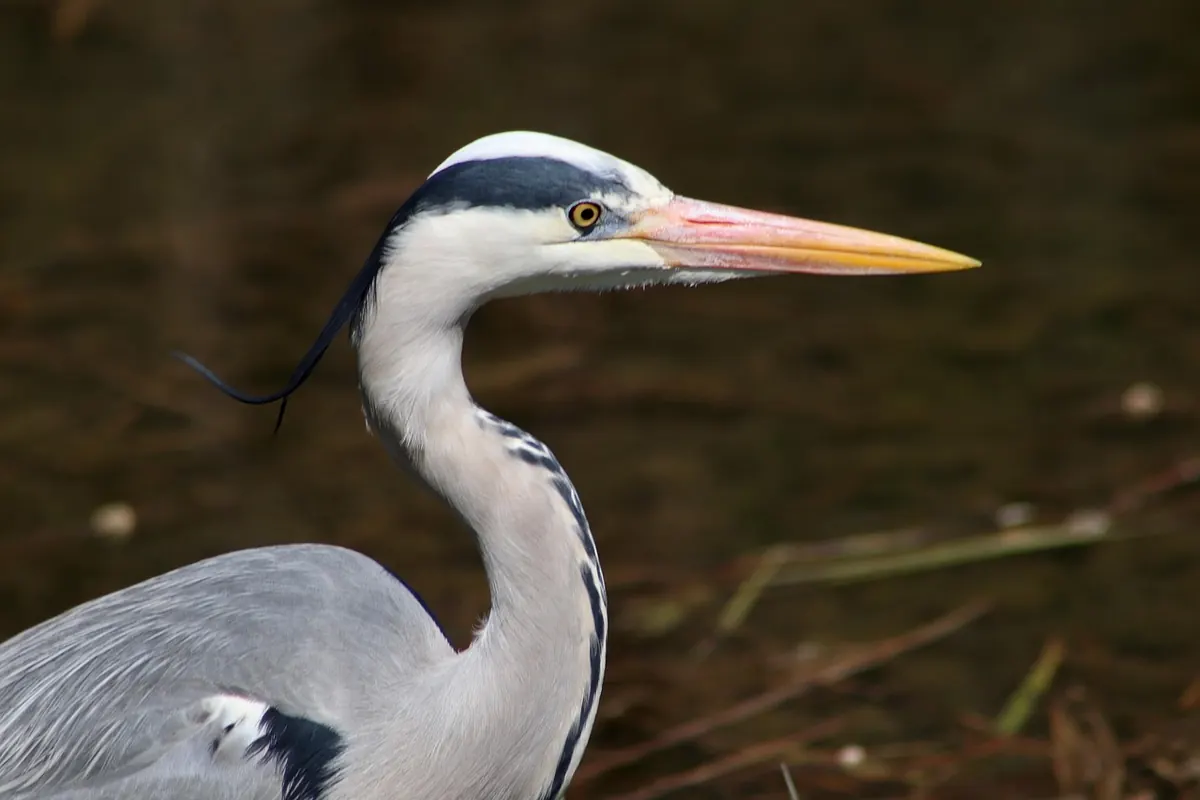
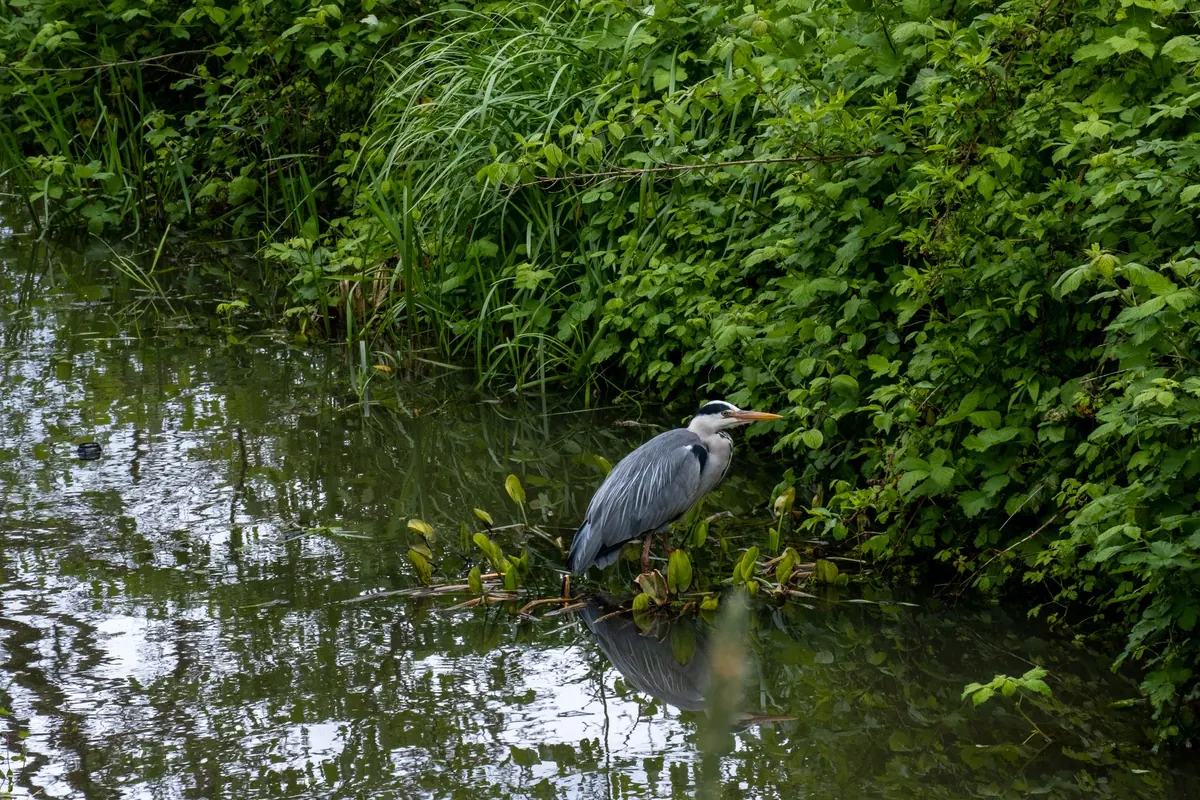
Get to the water's edge in the half-dark, well before you can see a heron, and take a test frame of the bank where one is likely to stand. Look at the histogram: the water reflecting the sky is usually the brightest thing in the frame, and the bird's pale neck and face will be nearly as bright. If the water is already clipping, you know you'll need to pull the exposure down rather than up. Your goal is to keep detail in that pale plumage while leaving the shaded bank dark and quiet. A heron's face is where the photograph lives, so never let the highlights there blow out.
Exposure: protect the pale neck
Manual mode with auto ISO is the most reliable setup in low light, because the light changes and the bird doesn't. Choose the shutter speed and aperture yourself, and let the camera lift the ISO as the sky brightens.
- Aperture: f/5.6 to f/8 gives enough depth of field for the head and shoulders while keeping the background soft.
- Shutter speed: 1/500sec or faster for strikes and wing-lifts; 1/125 to 1/250sec is plenty for a standing, motionless bird.
- ISO: 800 to 6400 at dawn is normal. A slightly noisy sharp frame beats a clean blurred one.
- Exposure compensation: start at around -0.7 EV if the water is bright behind the bird.
- Autofocus: single point, continuous mode, placed on the eye. Use back-button focus if your camera allows it.
Bracket a couple of frames if you're unsure. Under-exposing slightly and lifting the shadows in editing is usually safer than recovering a clipped white cheek, which carries no detail at all.
Camouflage is about shape and movement
Herons are alert, tall and long-sighted, and they read a human silhouette instantly. Colour matters less than outline and movement. Sit down, get low, and put something between you and the bird — reeds, a bank, a fallen branch. A low position near water level also gives you a far better portrait, because you're looking at the bird rather than down on it.
Dull, matt clothing in browns, greys and greens works. Avoid anything that rustles, anything that shines, and anything that catches the wind. A simple hide bag or a scrim net thrown over you and your tripod will let you work at distances that would otherwise send the bird up. Move when the heron's head is down or it is busy feeding; freeze when it lifts its head. Never walk straight at a bird — approach at an angle, pause often, and stop the moment it looks uneasy. Keep away from nests and colonies entirely.
Support: tripod, beanbag and cold hands
In low light, stability is everything. Spread the tripod legs wide, keep the column down, and hang your bag from the hook to add weight. A ball head with the tension set loosely lets you follow a stalking bird smoothly; a gimbal is even better with a long lens. If you're lying at the water's edge, a beanbag on the ground or on a car window ledge is faster and lower than any tripod.
Use a remote release, the two-second timer, or the quietest shutter setting you have. Switch off lens stabilisation when the camera is locked down, or it will hunt for movement that isn't there. Wear thin gloves with the fingertips free and keep a spare battery in an inside pocket — cold drains them quickly, and dawn is cold.
Patience, and reading the bird
The best heron photographs come from one bird and a long wait. Herons are creatures of routine: a feeding bird will often work the same stretch of bank for an hour, stabbing at fish and then standing motionless to digest. Learn the tells. A slow retraction of the neck, a tilt of the head, a slight dip of the body — that's the strike coming. That's when you hold the shutter down for a short burst, not the whole time.
Take fewer frames and watch more. If the bird flushes, don't follow it. Back off, sit down again, and wait; herons frequently return to the same spot within ten or fifteen minutes. Twenty minutes of stillness is a small price for a portrait with a fish in it.
Processing without smearing the feathers
Shoot raw. Dawn light is genuinely blue, and that's part of the picture — warm it a little if you like, but don't neutralise it into a flat midday white balance. Lift the shadows gently, apply noise reduction with restraint, because heavy reduction turns fine feather detail into plastic, and sharpen on the eye rather than the whole frame. A touch of local contrast along the neck and back is usually all the depth you need.
Your first grey dawn
Plan one morning properly: arrive forty-five minutes before sunrise, set up low and hidden, take a test frame of the empty bank, and set your exposure and focus before the bird appears. Then put the camera down, watch, and wait. When a heron finally steps out of the mist into that soft light, you'll already have everything ready — and the only thing left to do is press the shutter at the right moment.
Photo: David Kanigan / Pexels